Step by Step: Your Data Sharing Guide
Follow this step-by-step guide to get started with bridgit and to see how easily you can manage, annotate, and share your research data from start to finish.
Step 0: Before creating any projects
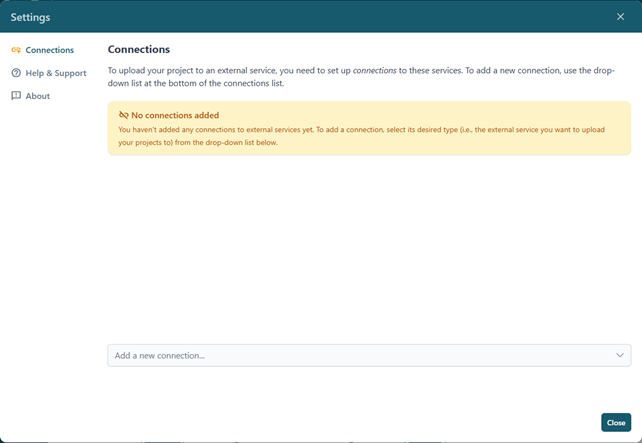
Before creating any projects, you will connect bridgit to external repositories of your choice (e.g. Zenodo, OSF, etc.) which you want to upload your datasets to later on. Connections are managed within your user settings, which you can open by clicking the little cogwheel icon in the top-left corner of bridgit’s interface. This will bring up a list of all your set up connections. This list will be, of course, initially empty – so scroll down and find the connect button to set up your first connection.
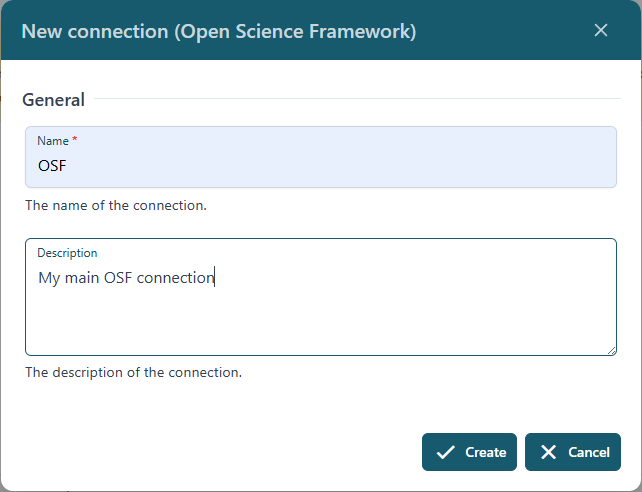
From the Add a new connection drop-down list, select which external repository you want to connect to, and a dialog where you can name and optionally describe your new connection will come up:
After clicking Create, the connection will now appear in your list but won’t be connected to your account of that external service yet:
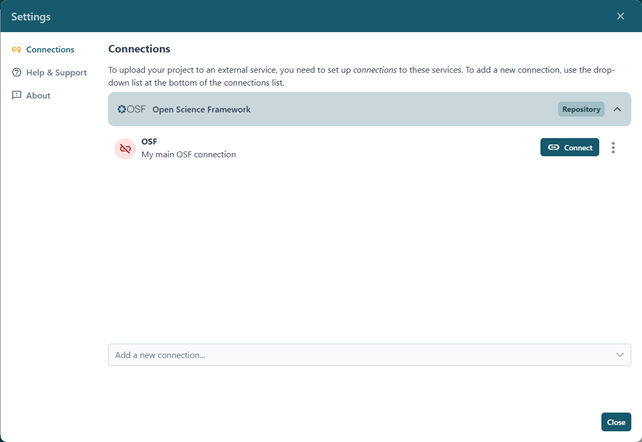
To connect your account, click on Connect. You will be redirected to the external website’s authorization service, where you can grant bridgit permission to use your account for uploading projects and their data. Once the connection is successfully established, it will be shown as “connections” in your list of connections, so you always know which data repository accounts are linked.

When you have set up all connections, you are ready to start creating your very first project.
Step 1: Creating a new projects
With your connections set up, it is now time to create your first project. To do so, click on the New Project button in the lower left part of bridgit. The following dialog will come up:
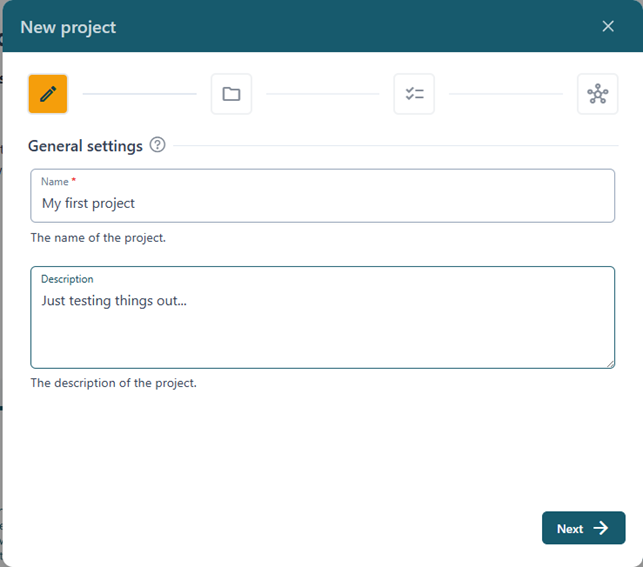
On this first page, you can give your project a name and add a short description. The name helps you easily identify the project later, while the description provides context about its content, purpose, or stage of progress. Taking a moment to add clear information here will make it easier for you and your collaborators to keep track of your work.

On the next page, called Data path, you can choose the location in your cloud where the research data for this project will be stored. Please keep in mind that this path cannot be changed later, so take a moment to select the right one.

Some features, such as the Data Management Plan, are optional and can be enabled or disabled on the next page. You can adjust these settings at any time later for your existing projects if needed.
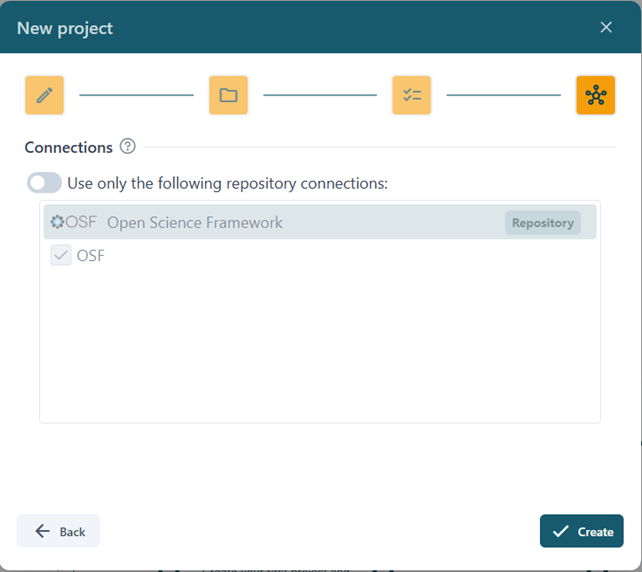
The last step gives you the option to limit your project to only certain connections you have set up before. Tip: this can be especially useful if you work with several repositories or accounts but don’t need all of them for every project.
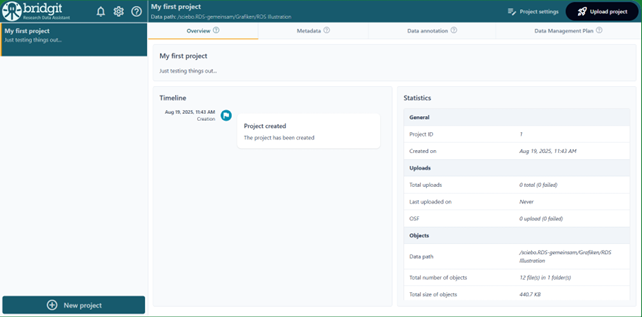
After clicking Create, the new project will appear in the main projects list and is ready to be edited.
Step 2: Project metadata annotation
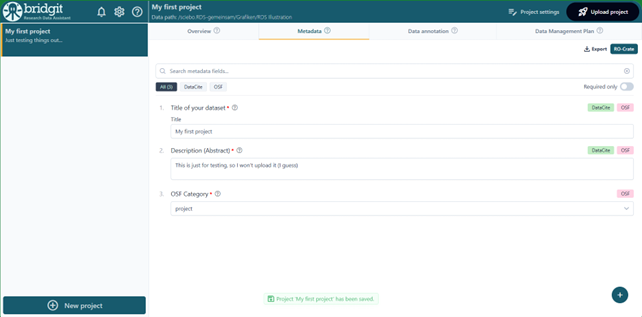
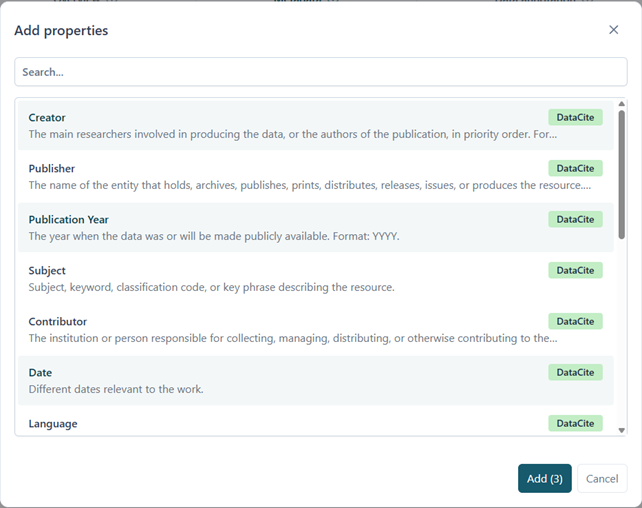
Each project has its own general metadata that can be entered in the Metadata tab, as shown above. By default, only a small number of available properties will be shown, but more can be added by clicking on the little + sign in the lower right corner. You can select the properties you want to add to your project. By clicking on this +, a pop up will provide you with the following dialog:
Step 3: Data annotation
Individual file objects can be annotated in the Data annotation tab:
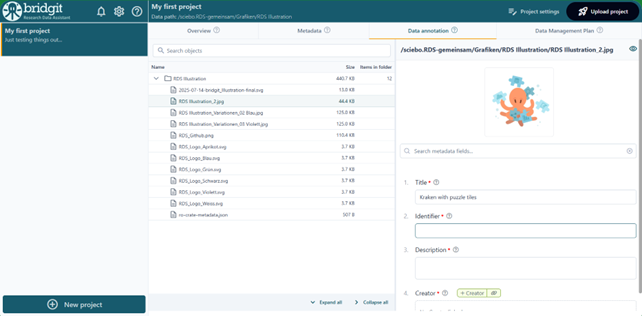
The file tree on the left displays all files and folders included in your current project. To add metadata, simply select one or more files or folders and enter the information you want. For many common file types, a preview is also available, making it especially easy to annotate images, documents, and other visual content.
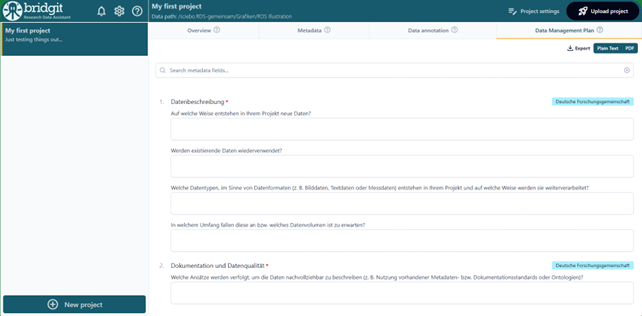
Step 4: Data management plan
The data management plan allows you to assess a Data Management Plan using a simplified interface:
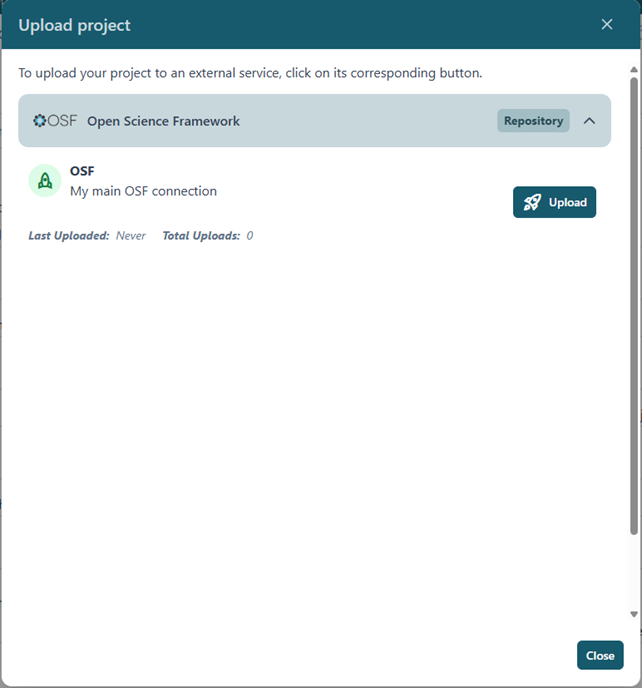
Step 5: Uploading a project
Once you have completed the editing of your project, it is time to upload it to an external repository like Zenodo or OSF. To do so, click on the Upload project button in the top right corner of bridgit, which will bring up the following dialog:
To upload your project to a specific service, simply click on its corresponding Upload button. bridgit will now upload all data that belongs to your project, including its files and metadata, to the external repository:
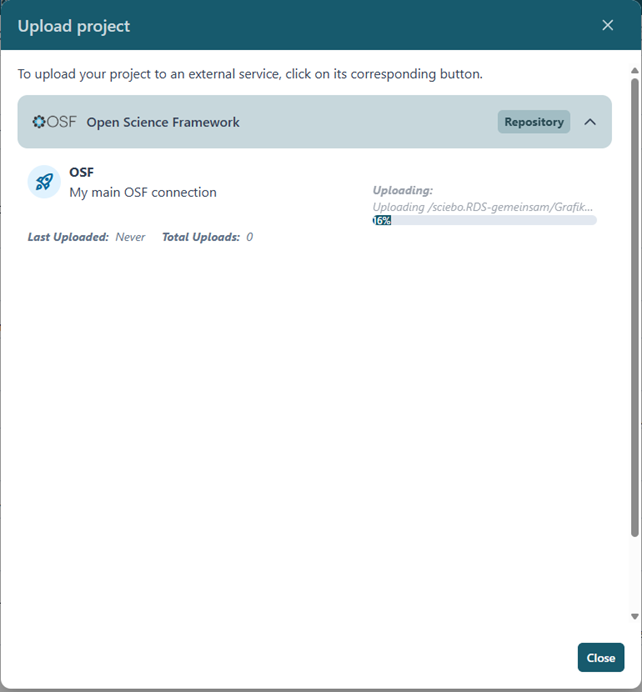
Don’t worry! This process runs in the background, so you are able to close this dialog while the upload is still running; you can even close bridgit, your project will still continue to upload.
Unless you have published your project, it is always possible to re-upload the project again. This will simply use the same external project but replace everything that had been uploaded before.
Please note: To ensure your data safety and keep your control over your own data, the actual publication of a project must be done using the website of the external repository which you have uploaded your project to.